How it works? - Shira Editor
Introduction
Last updated: October 26th 2025
Shira Editor is a powerful tool designed to help you create and edit your plans with ease.
Try now
Go to shiraroadmap.com/demo and make your first roadmap.
Shira editor overview
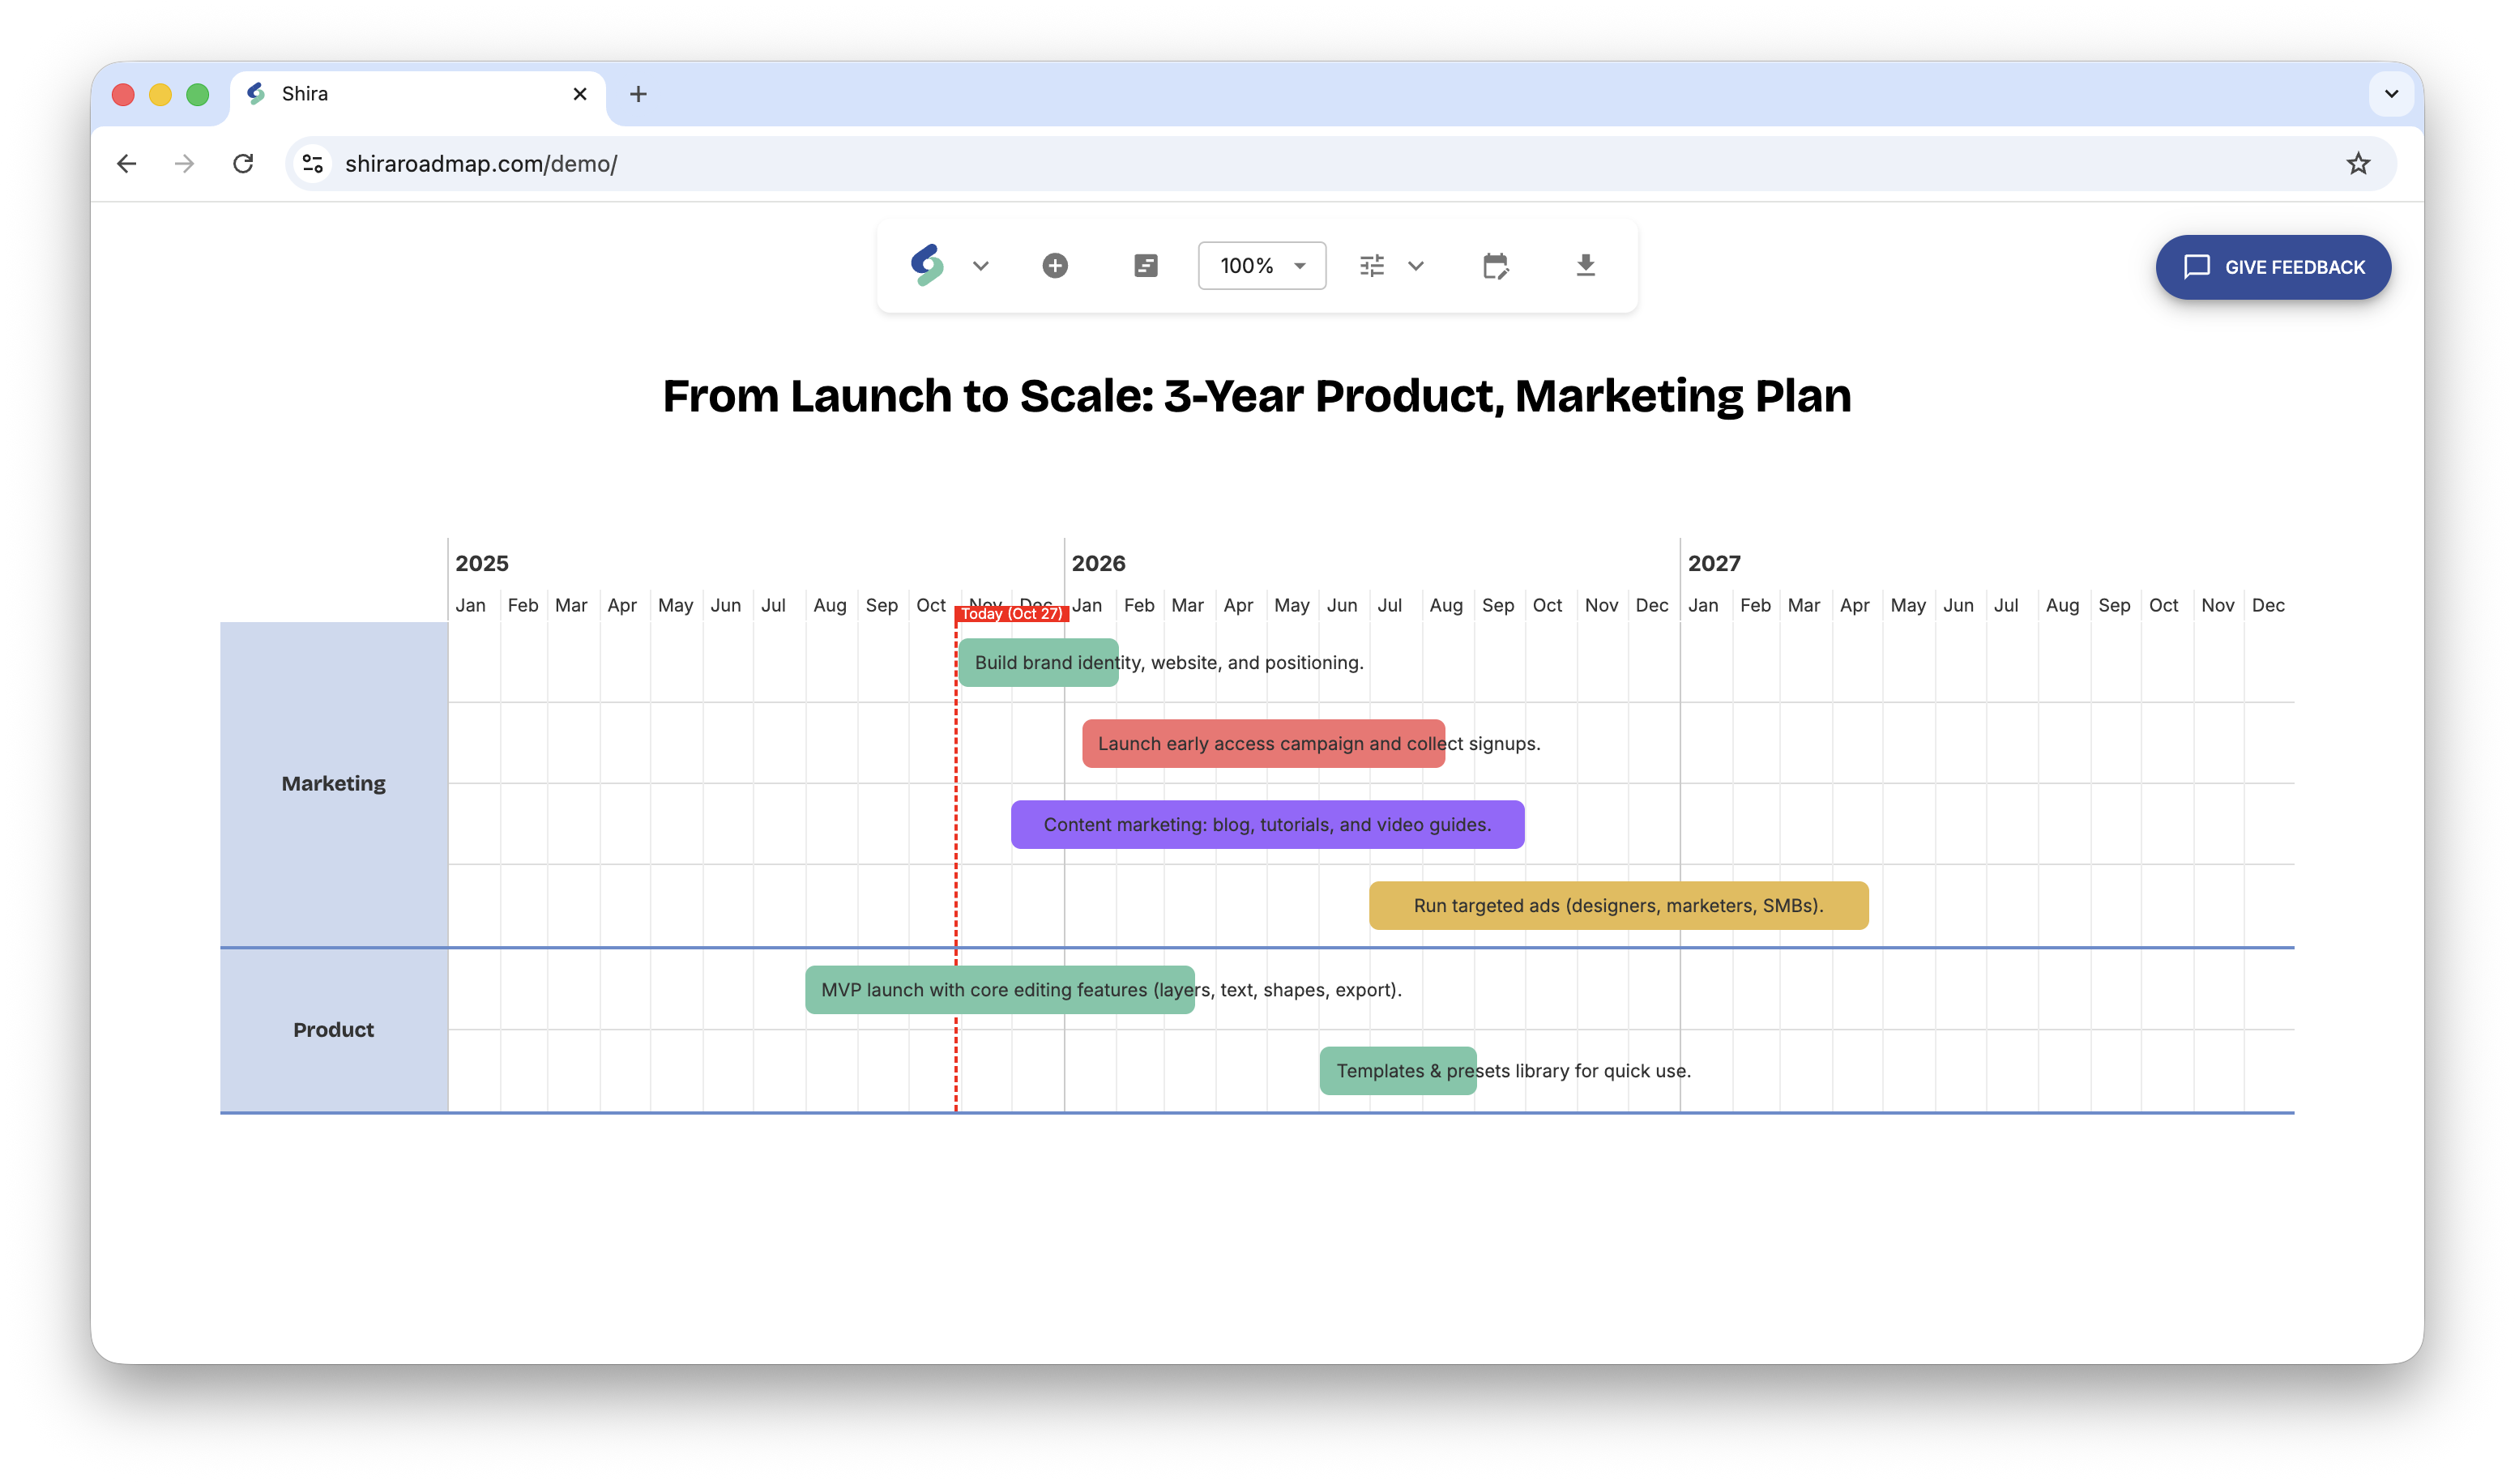
The central part of Shira editor is the roadmap itself. Everything you change is immediately visible.
At the top of the screen there is a toolbar with useful options for creating, editing and formatting your roadmap.
Work with activities
Add activity
To add an activity on the roadmap simply click on the + icon in the toolbar.
Dialog will popup and you need to fill basic information:
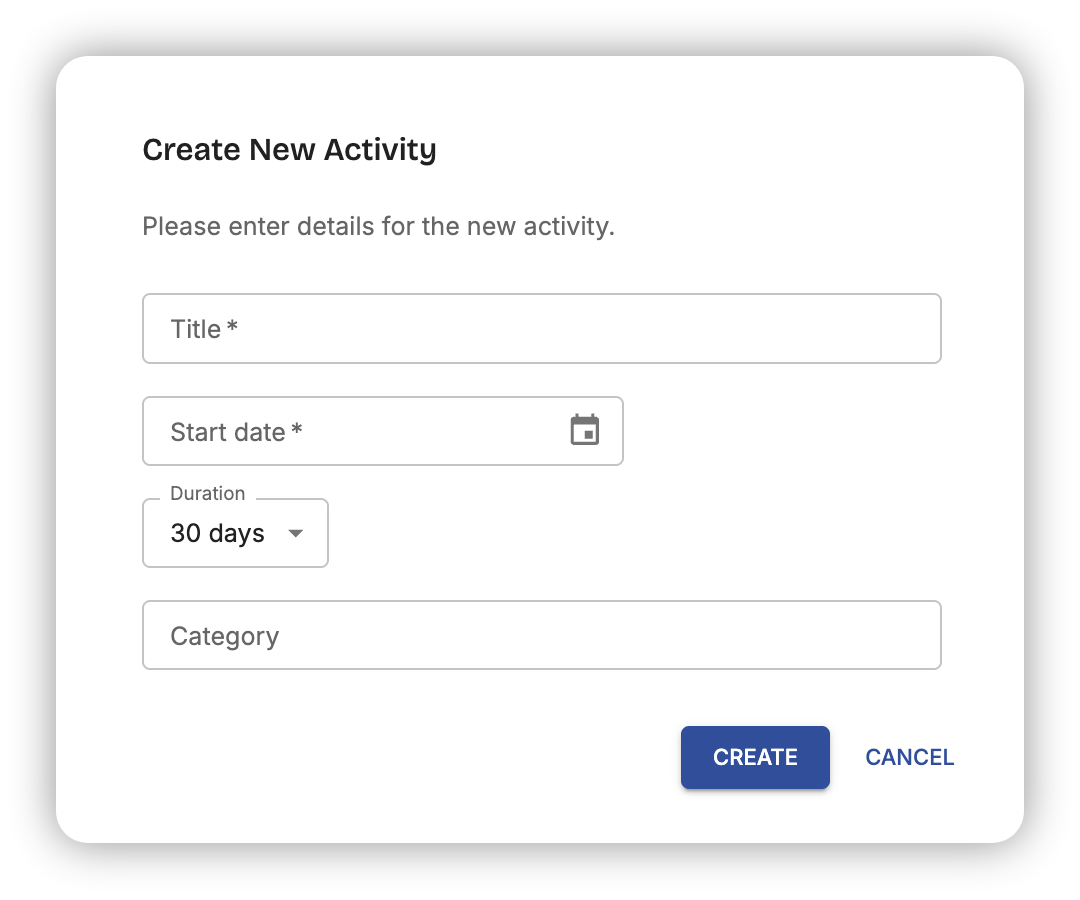
- Title - title of the activity
- Start date - the date when the activity will start
- Duration - in days. You also have the Custom... option which, if selected, will provide you the ability to select the exact end date.
- Category - optionally, you can categorize your activities
💡 Hint: Once you have at least one item in your roadmap, you can add new activities by clicking on the roadmap itself. The start date will be selected based on the exact location you clicked.
Edit activity
To edit an activity you should click on it. On the right side a panel will show up, and you will see all the details of that activity.
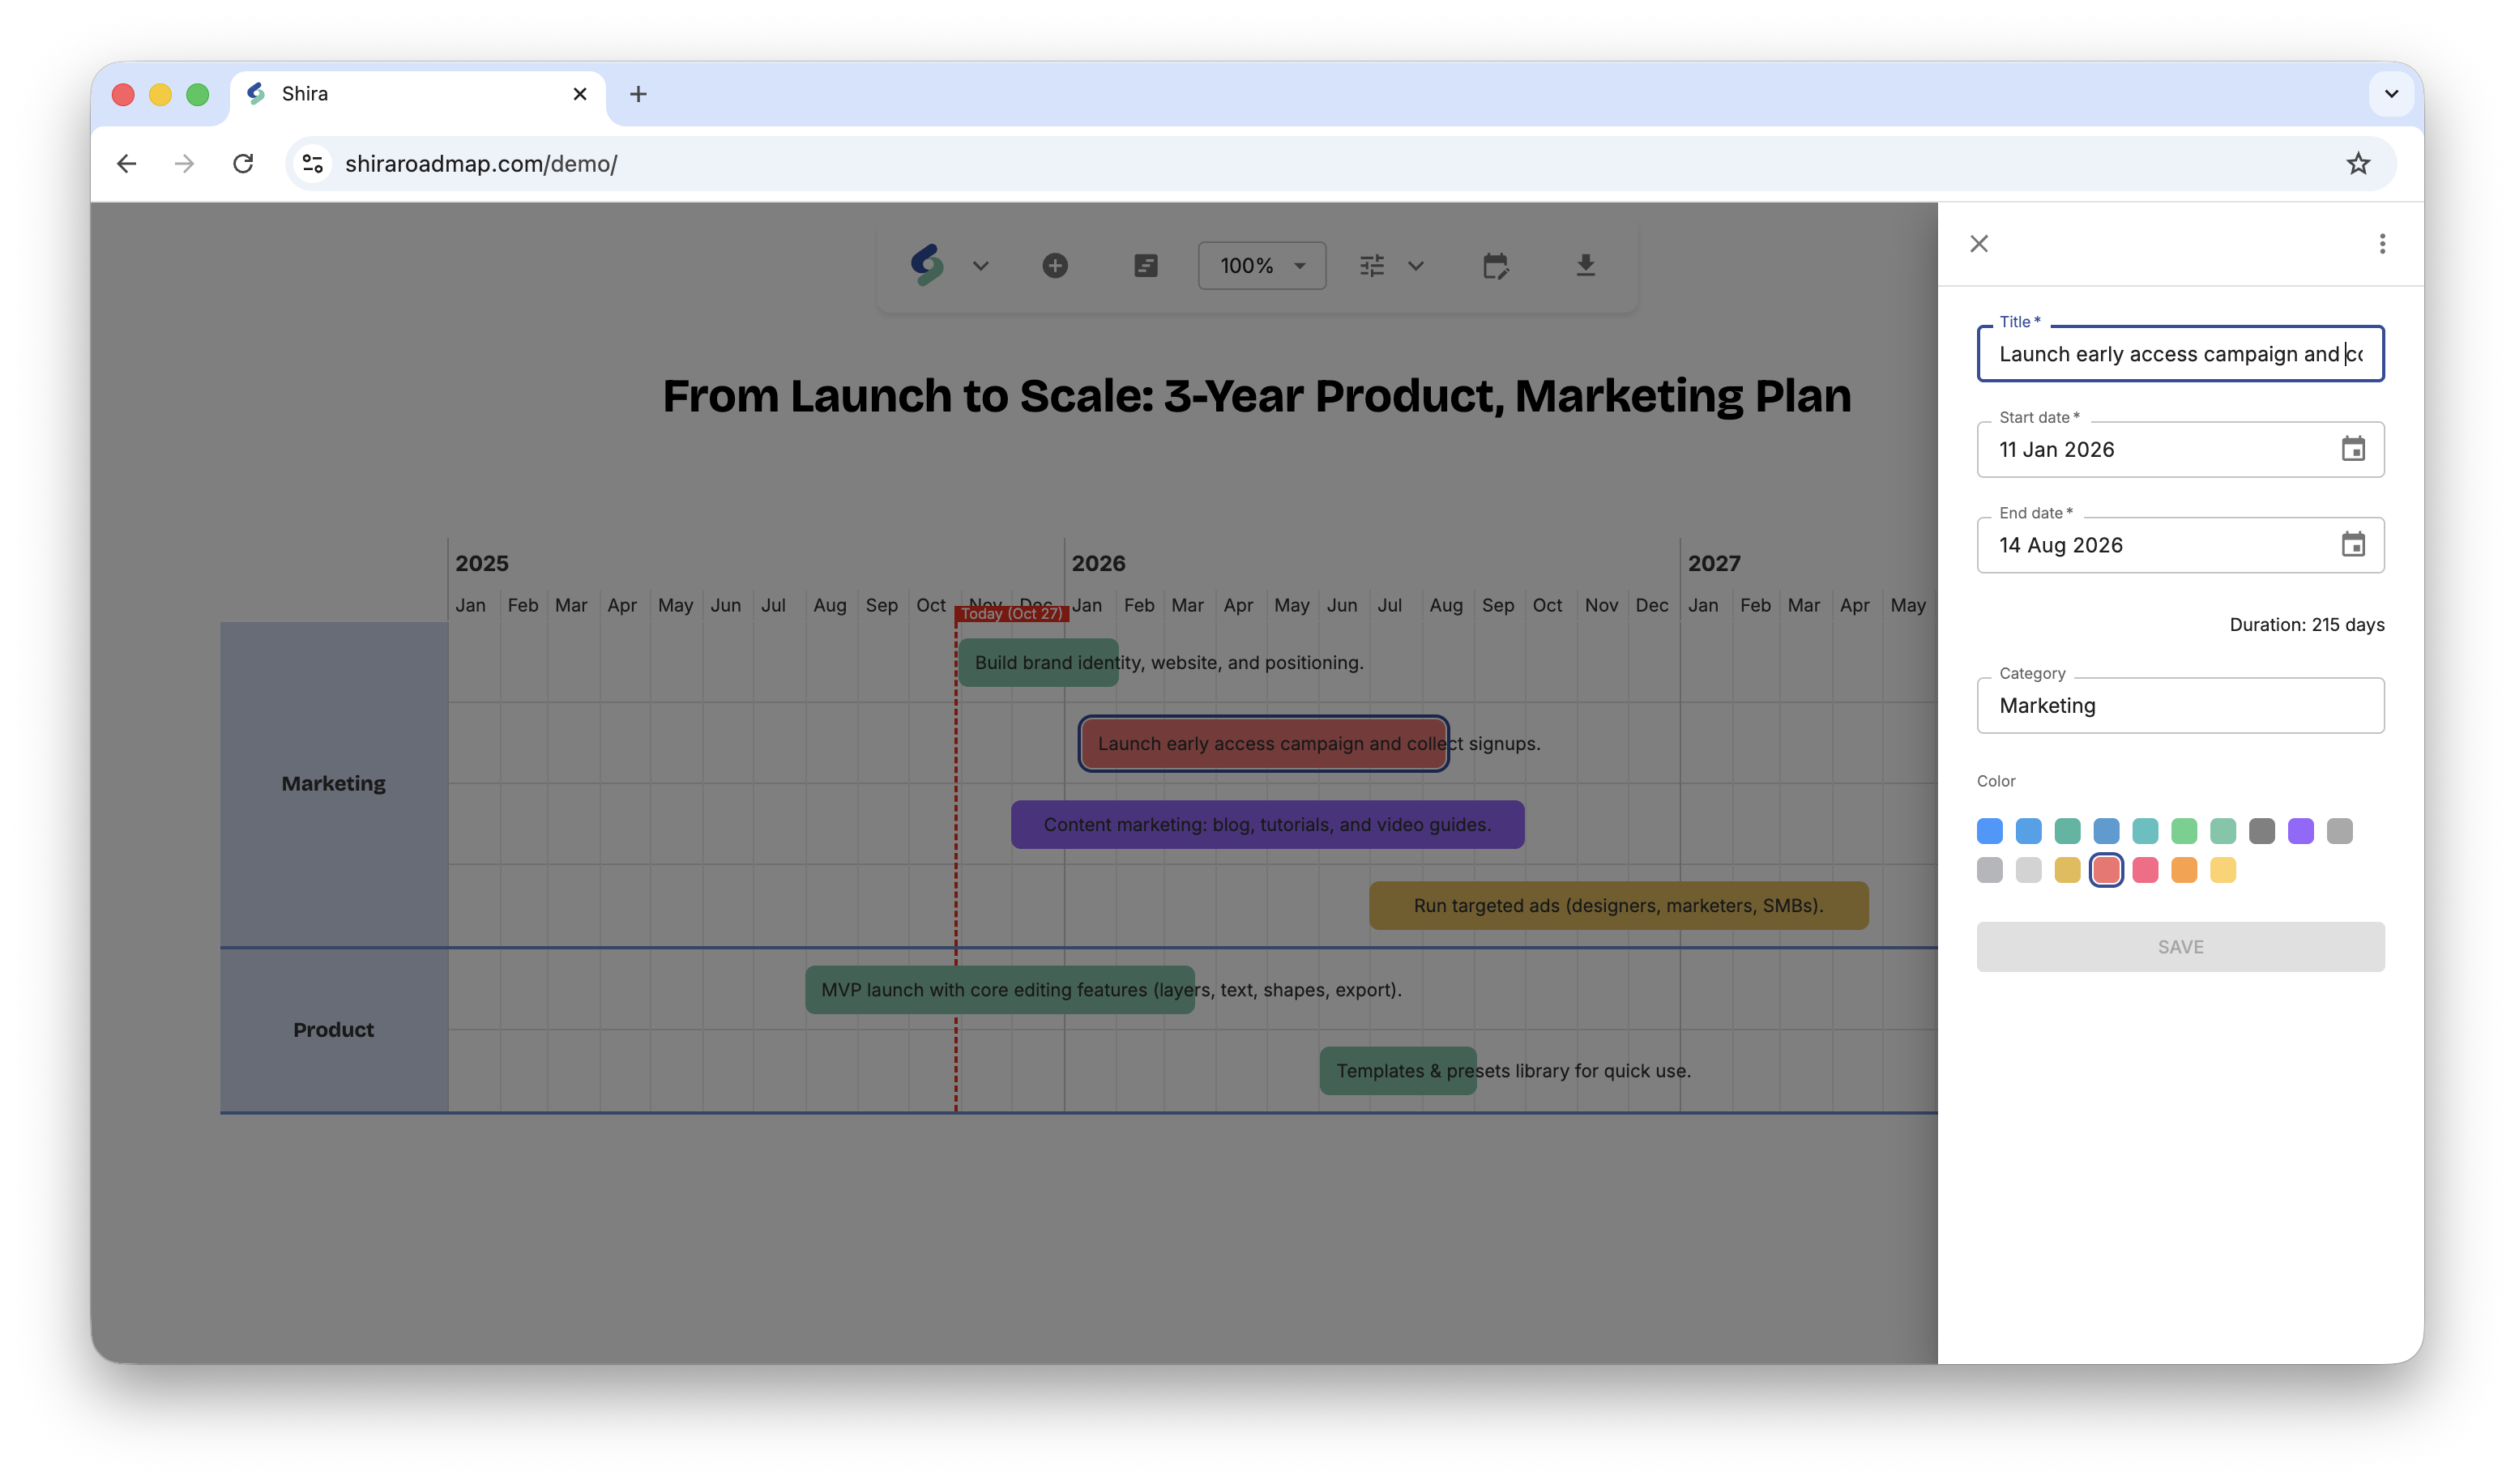
You can change the title, start date, duration, category and color of the activity.
To confirm the changes, click on the "SAVE" button.
Change start, end, duration using the handles
Like you saw in the edit activity section, you can change the start date, end date, and duration of an activity by clicking on the respective fields in the right side panel. However, there is also a more visual way to do this directly on the roadmap.
Point your mouse over an activity to see the resizing handles.

Change start date

To change the start date point your mouse over the left resizing handle. When the cursor changes to the horizontal double arrow, click and drag the handle to the left or right to adjust the start date. You will see the date changing as you drag.
Change end date

To change the end date point your mouse over the right resizing handle. When the cursor changes to the horizontal double arrow, click and drag the handle to the left or right to adjust the end date.
Move activity

To move an activity, point your mouse on the top edge of the activity itself. When the cursor changes to a move icon, click and drag the activity to the desired location on the roadmap.
Delete an activity
Select the activity you want to remove. Then, on the right side panel, click on the menu icon (three vertical dots).

Click on the "Delete Activity" menu item and confirm the deletion in the popup dialog.
Duplicate activity
To duplicate an activity, select the activity you want to copy. Then, on the right side panel, click on the menu icon (three vertical dots).
Click on the "Duplicate" menu item.
Customize color
To customize the color of an activity, select the activity you want to modify. Then, on the right side panel, click on the color box next to the "Color" label.
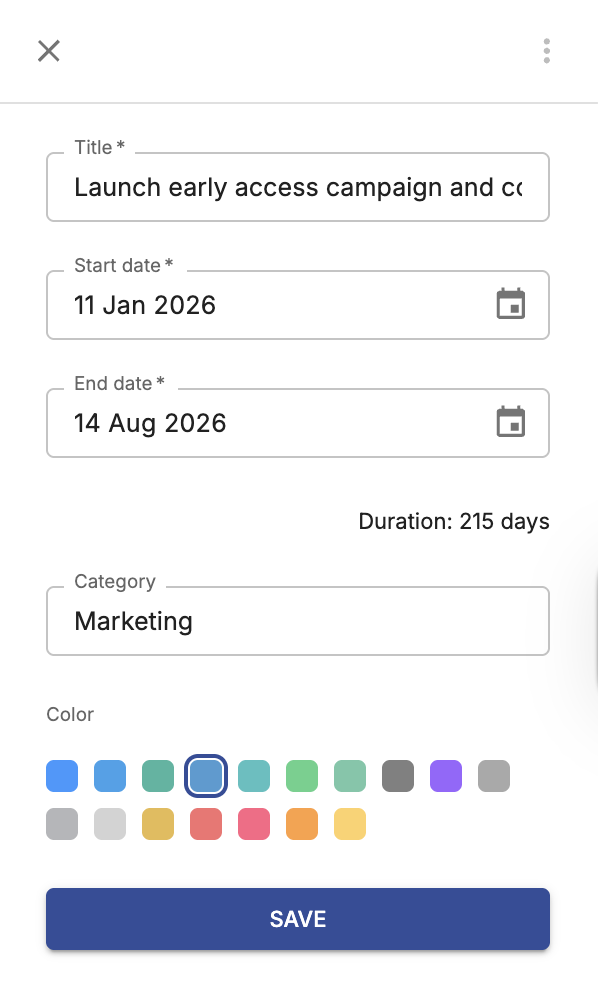
To confirm changes, click on the "SAVE" button.
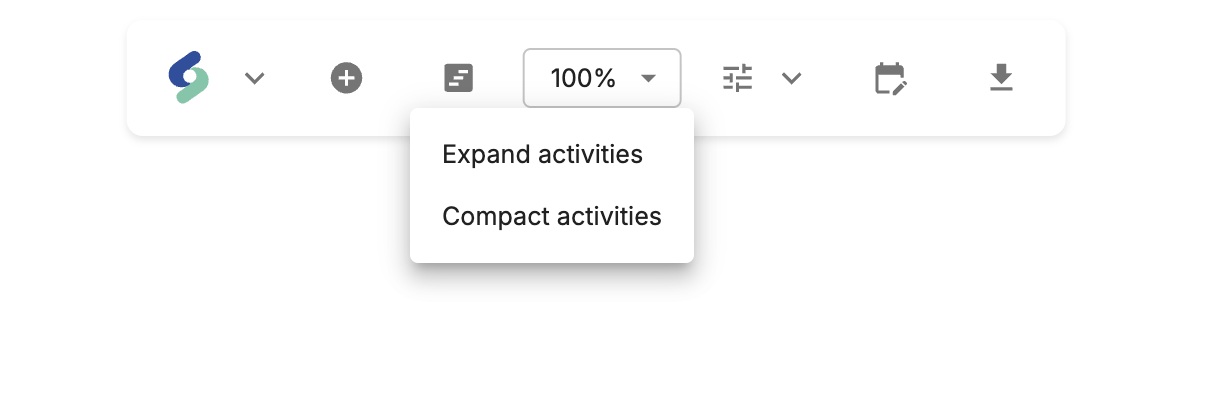
Arrange activities
There are two options to arrange activities on the roadmap:
- Expand - Each activity has its own row on the roadmap.
- Compact - Activities are arranged to minimize the number of rows used.
To switch between these modes, use the "Arrange" button in the top toolbar and select the desired option.
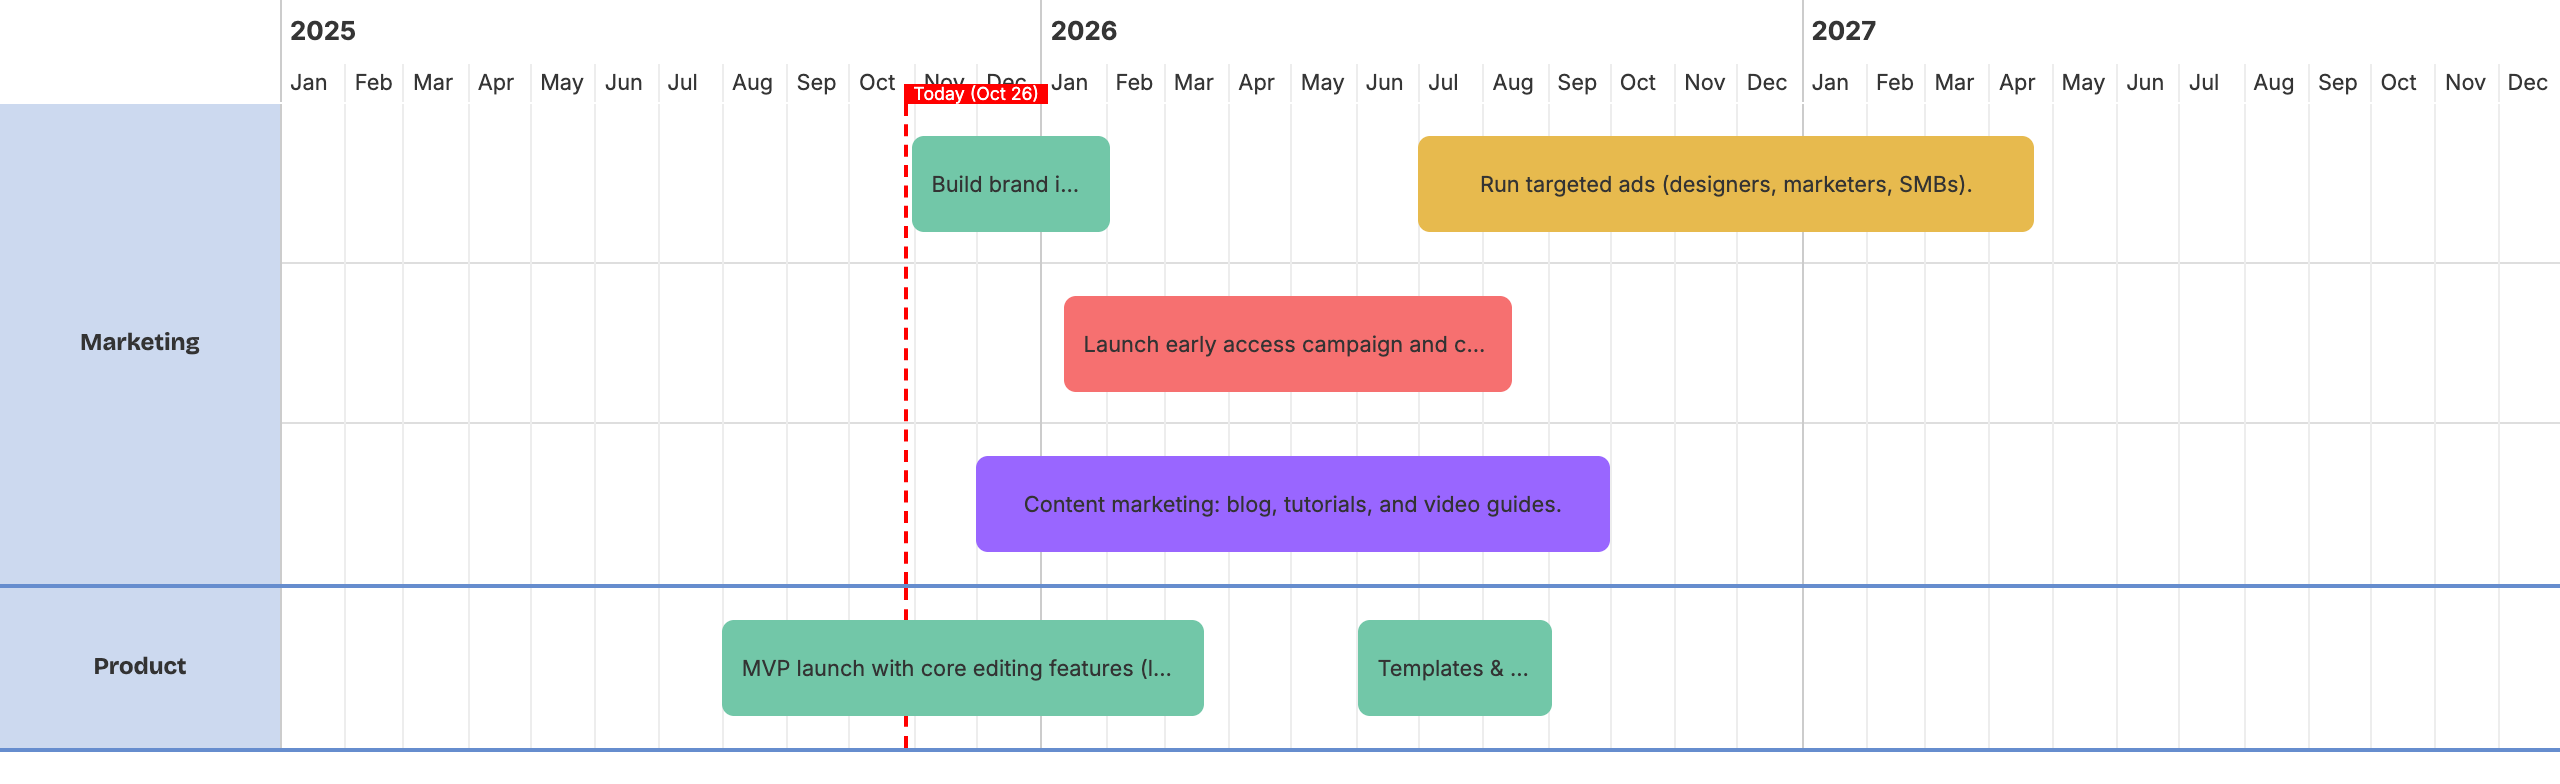
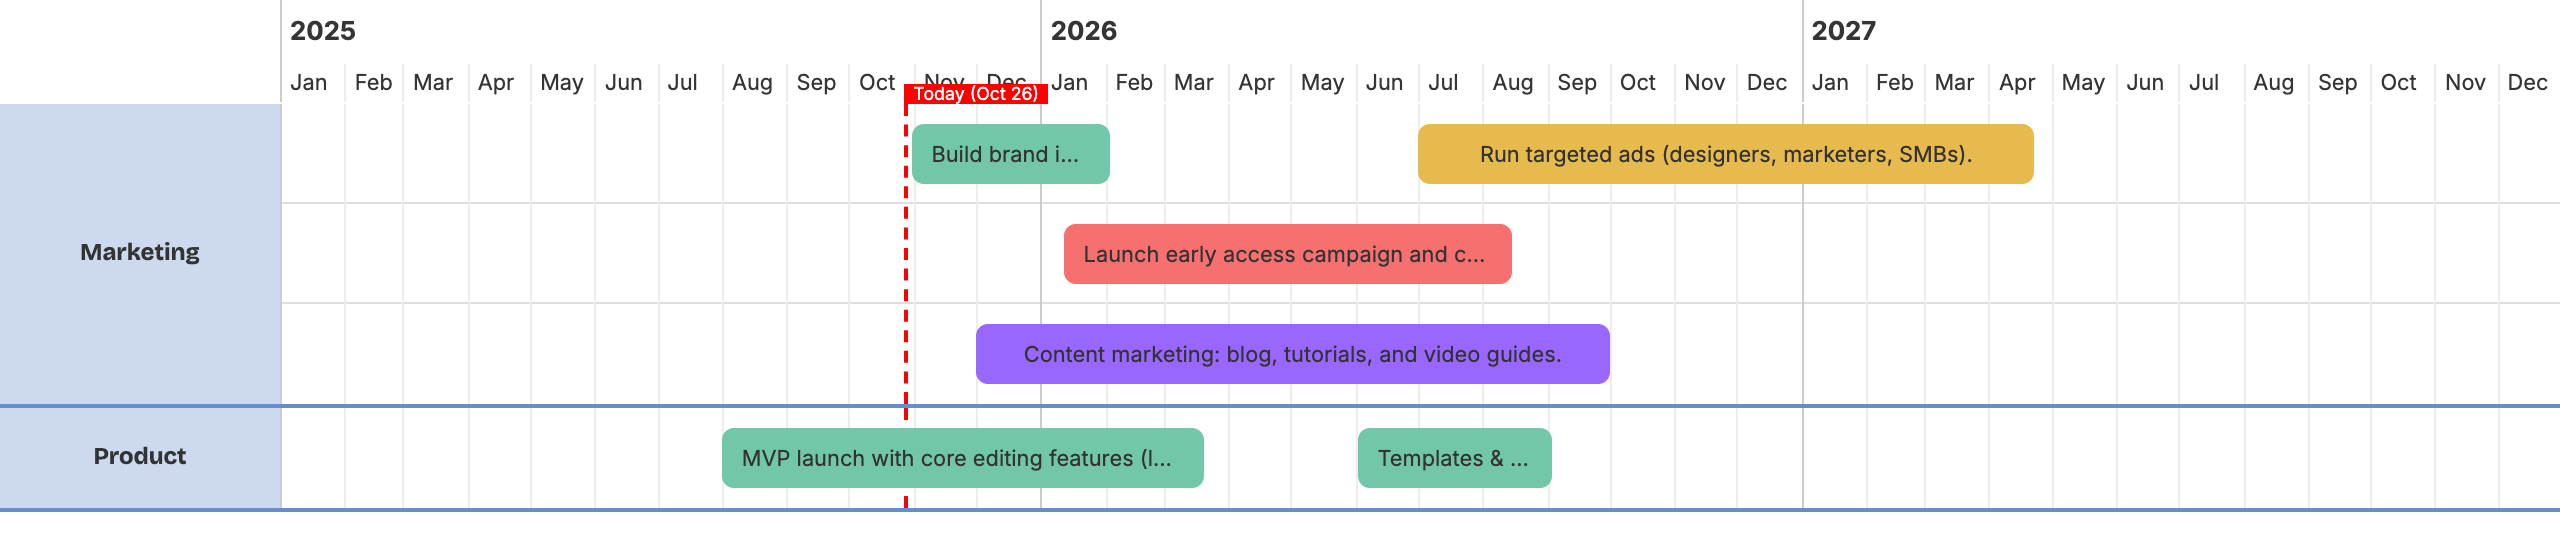
Below are examples of how activities are arranged in each mode:
Expand mode
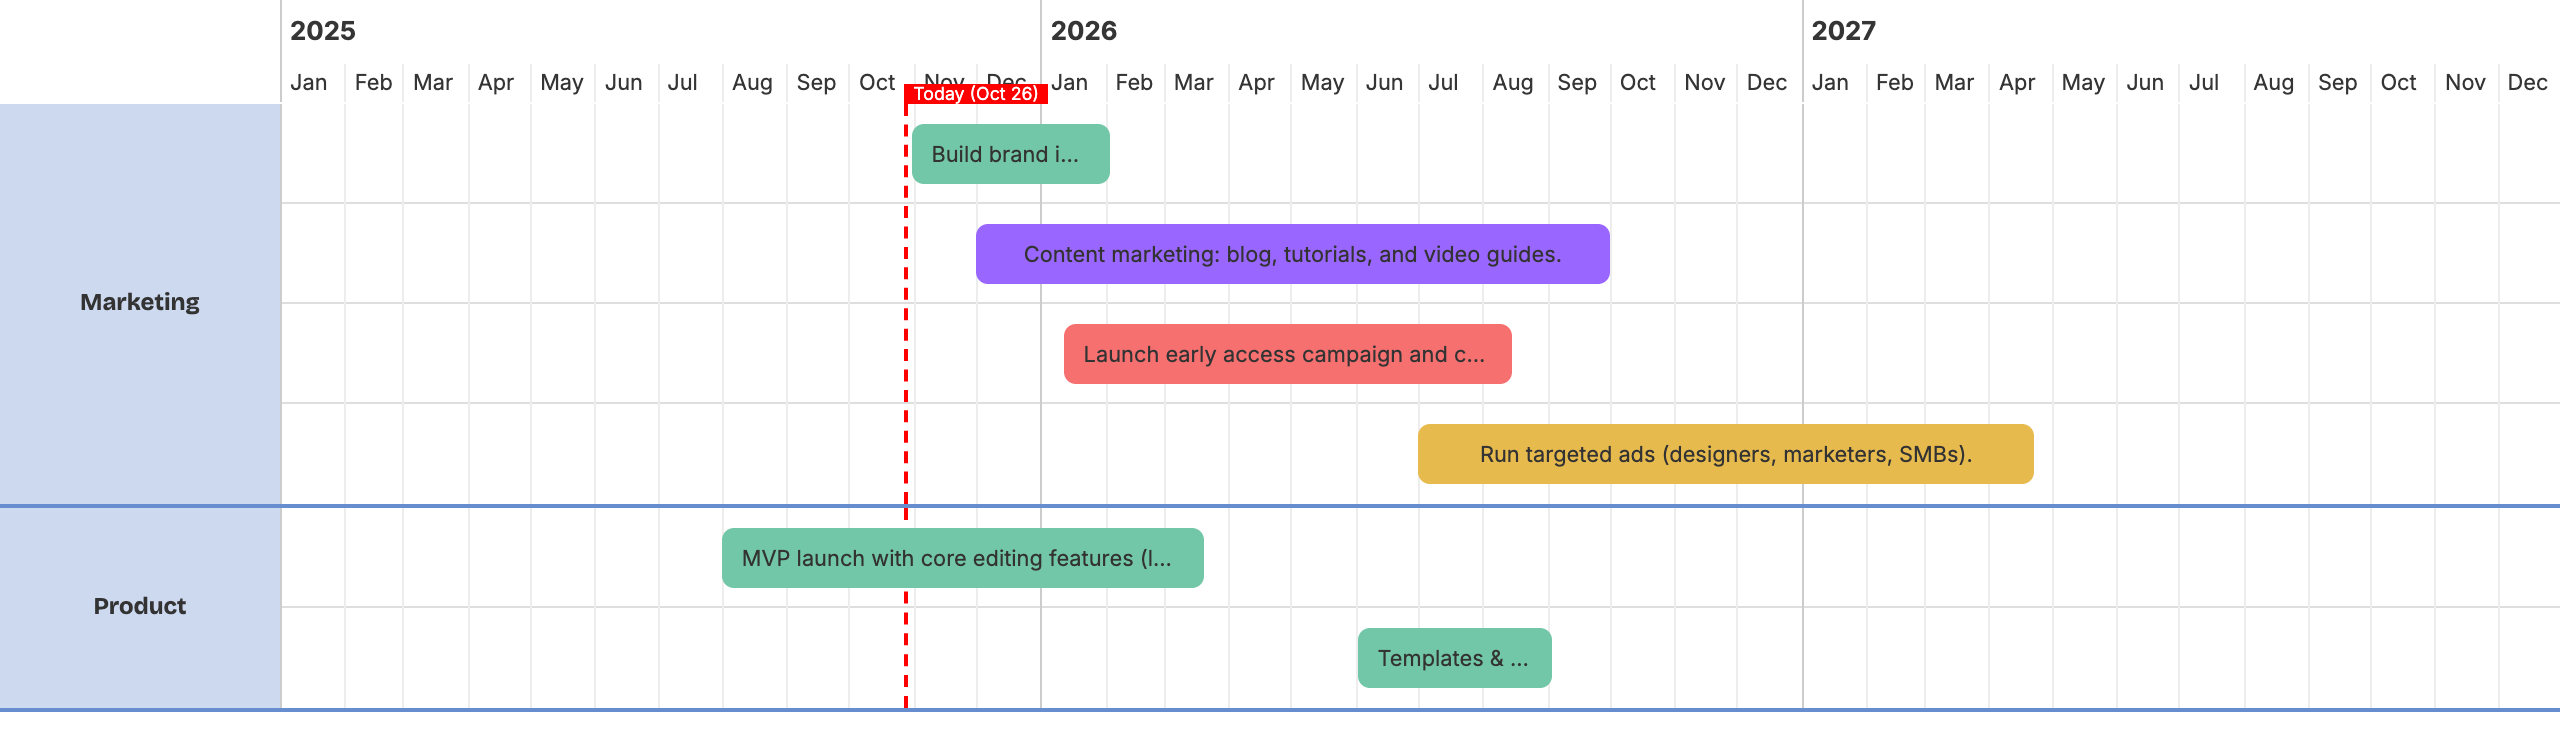
Compact mode

Roadmap canvas
Update title
Click on the current title at the top of the roadmap canvas. This will make the title editable. Type in your new title and press Enter to apply the changes.
Change timeline
To change the timeline of your roadmap, click on the Timeline icon in the toolbar.

The Timeline Settings dialog will open, allowing you to adjust the timeline's start and end dates.
Note that the period between start and end dates has to be at least 3 months.
Zoom level
To adjust the zoom level of your roadmap, use the zoom controls located in the toolbar.
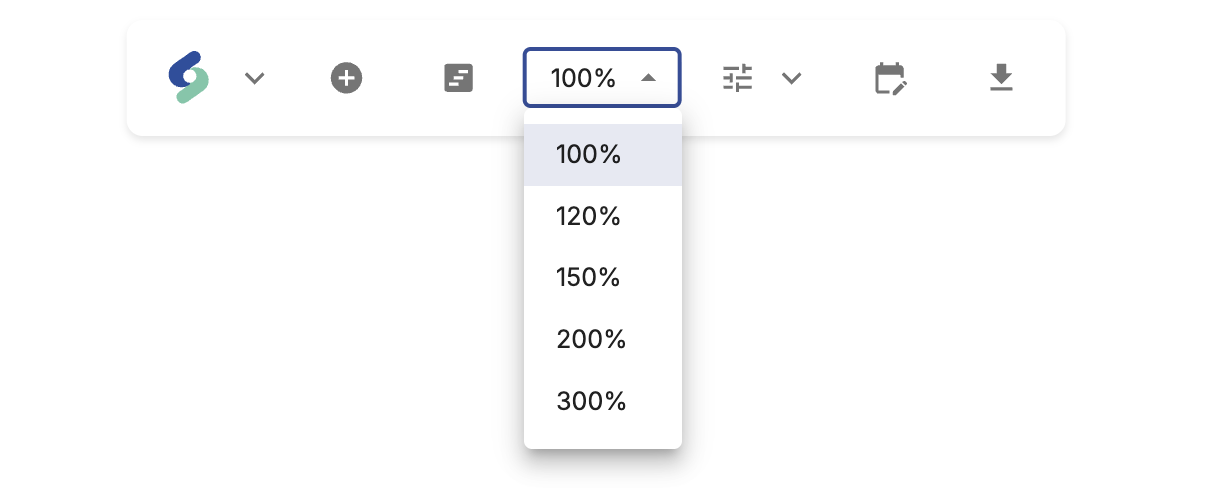
Note that if the zoom level is higher than 100%, a horizontal scrollbar will appear, allowing you to scroll through the roadmap.
Format options
There are different formatting options available for your roadmap.
To access formatting options, click on the format button in the toolbar.
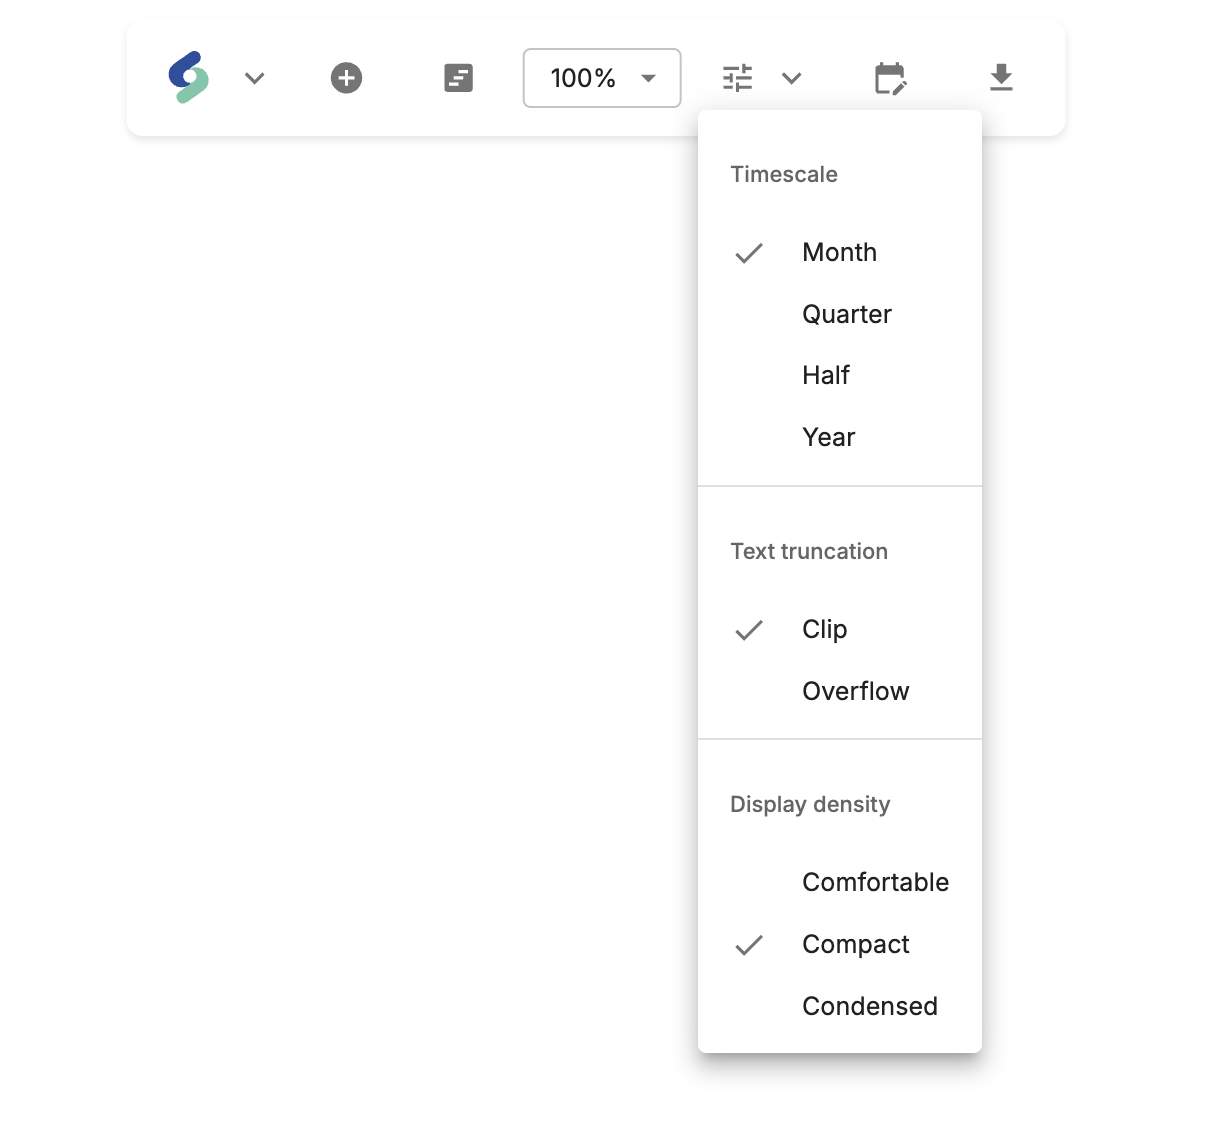
Timescale
Timescale option allows you to select the time units displayed on the roadmap. You can choose between Months, Quarters, Halfs and Years.


Text truncation
This option allows you to control how activities' titles are displayed on the roadmap. You can choose between Clip and Overflow.


On Clip settings, you will still be able to see the full name of the activity when hovering over it with your mouse.
Display density
This option allows you to adjust the vertical spacing of activities on the roadmap. You can choose between Comfortable, Compact, and Condensed.

Save, load and export
In the toolbar next to the Shira logo, there is a button that provides options to save, load and clear the roadmap.
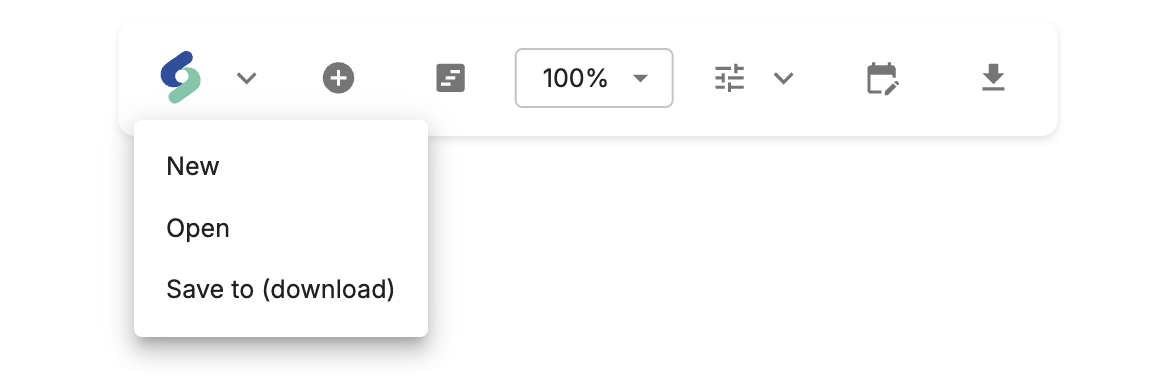
- New - Clear the roadmap canvas. Remember to save the previous one in case you may need it later!
- Open - Load roadmap
.shirafile from your disk. - Save to (download) - Save roadmap to
.shirafile format on your disk.
To export your roadmap as a PNG image, click on the export button in the toolbar.
